
WordPress Plugin Creation Playbook: A Step-by-Step Implementation Guide
The risk in any plugin build is not running out of steps. It is running them in the wrong order, or running them at the wrong depth, so that work has to be redone later. A playbook helps in two ways: it makes the sequence explicit, and it sets a sensible depth for each step. The senior advisor’s view is that plugin teams who follow a clear sequence land releases more predictably than teams who improvise, even when the improvisers are individually skilled. Sequence is a kind of compounding advantage.
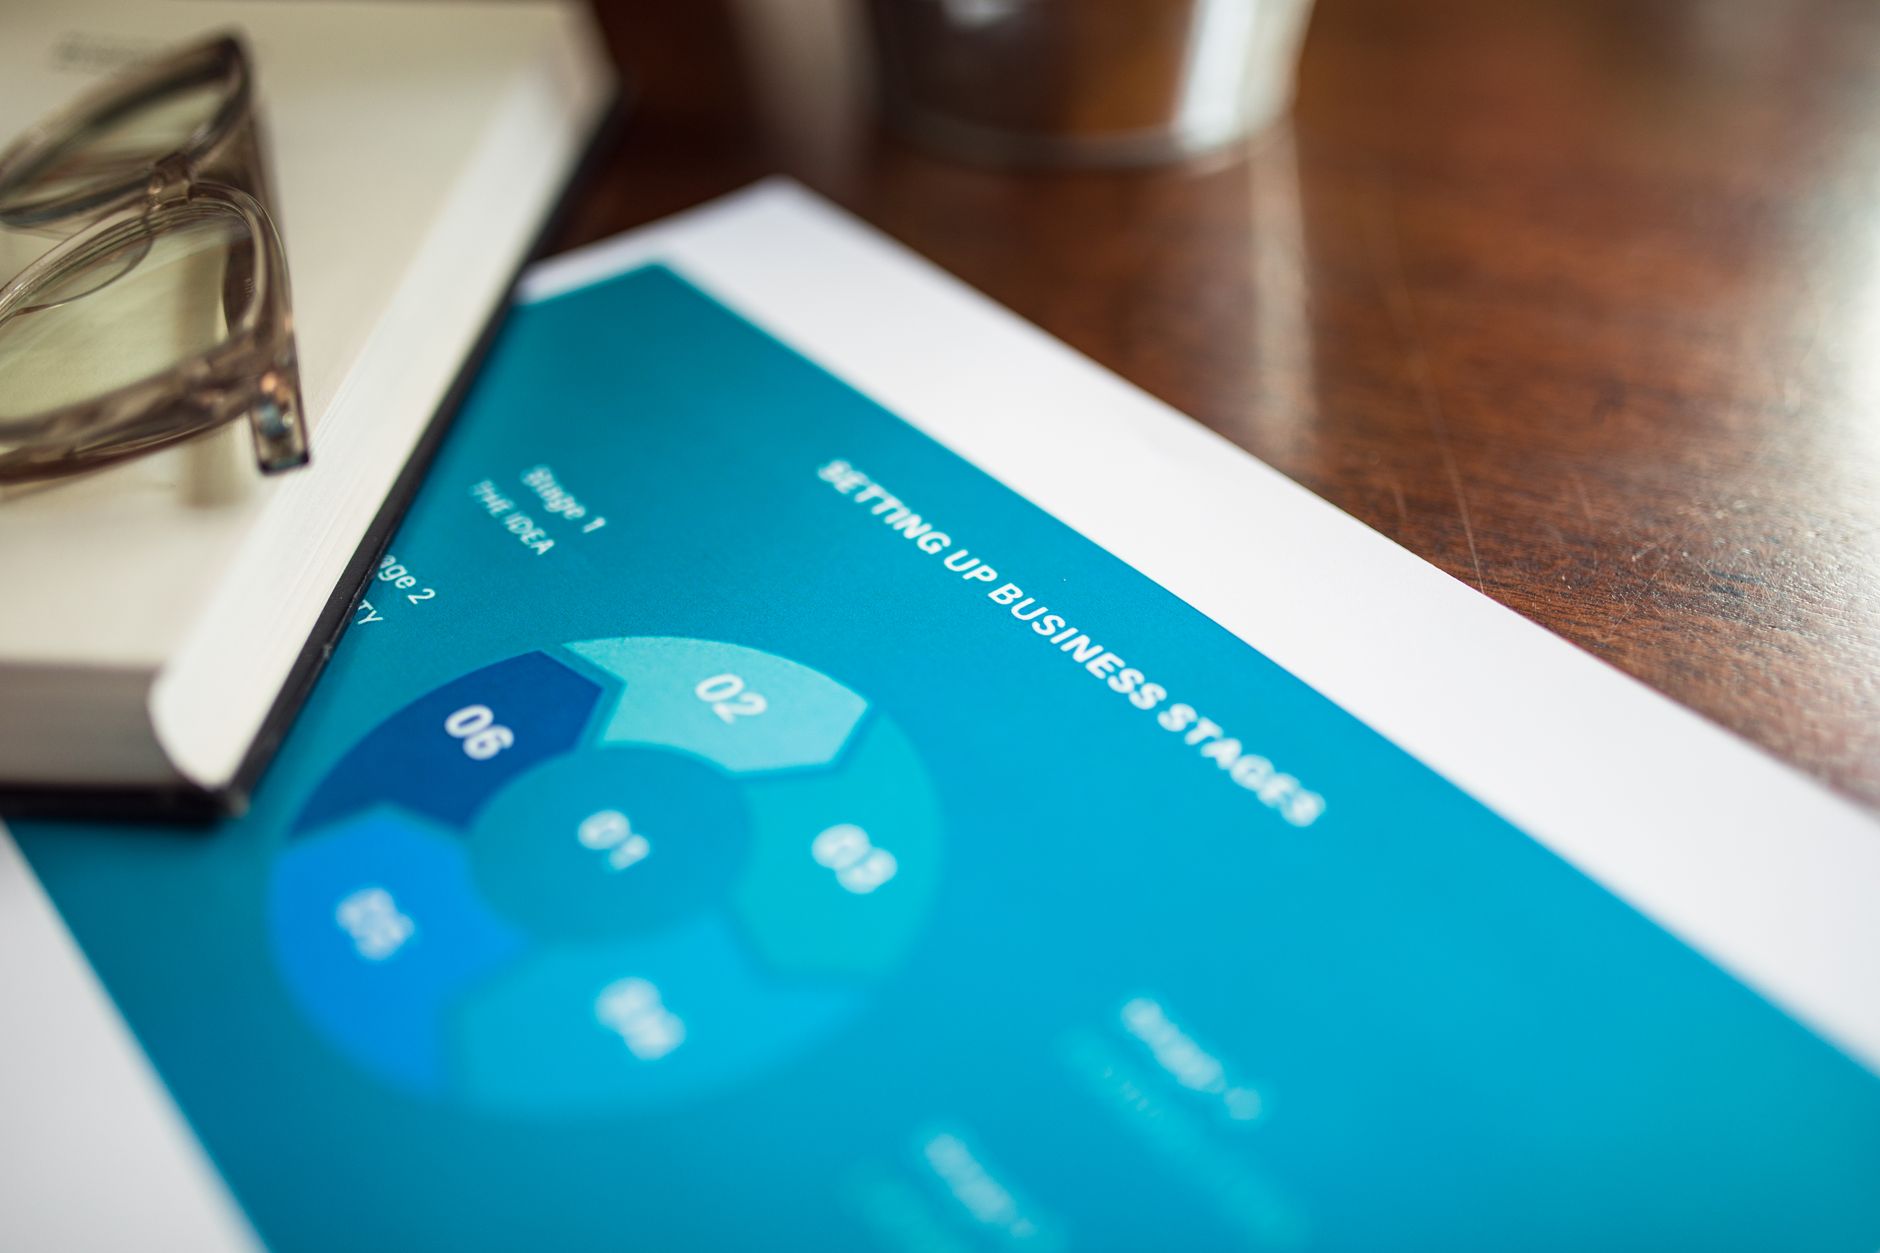
This playbook walks through plugin creation from the first conversation with the buyer to the first public release. It is structured around a process flow with eight stages, each containing concrete activities, decision points, and outputs. The playbook assumes a moderately complex plugin: enough scope to warrant a real process, not so much that the process becomes the focus. Adapt the steps to your specific project size; the structure scales in both directions if the discipline is preserved.
Risk-first orientation: what the playbook prevents
The playbook exists to prevent a specific set of failures that recur across plugin builds. Naming them at the start makes the process choices easier to defend later.
The first failure is starting development before scope is clear. Code written against ambiguous scope is reworked once scope crystallizes. The cost of rework grows with the amount of code written; catching ambiguity in scoping is much cheaper than catching it after a sprint of building.
The second failure is treating quality as a final-stage activity. Quality assurance is a stream that runs throughout the build, not a phase. Teams who postpone quality until release discover defects in batches and ship with whatever cannot be fixed in the remaining time.
The third failure is inadequate communication with the buyer. Plugins built without buyer involvement at decision points deliver against what the developer guessed the buyer wanted. The guesses are sometimes right and sometimes not; relying on luck is not a strategy.
The fourth failure is releasing without a stabilization plan. The first public release exposes the plugin to real users and real conditions. A team that has not planned for the first weeks of hotfixes will scramble; a team that has planned will execute.
Stage 1: Discovery and scoping
The first stage exists to convert the buyer’s request into a written specification that the development team can build against. Skipping or compressing this stage is the most common cause of late surprises in plugin builds.
Activities
Hold a kickoff conversation with the buyer. Listen for the underlying business problem, not just the surface request. The buyer who says “we need a plugin that does X” may actually need a plugin that solves a problem of which X is one possible solution. Understanding the problem opens better solutions; building only what was asked sometimes builds the wrong thing.
Document the user stories. Each story describes a user role, an action, and an outcome. A story can be expanded into acceptance criteria that describe how the team will know the story is complete. Stories at this stage do not need to be technical; they need to be clear.
Draft the data model. What does the plugin store? Where is it stored? How does it relate to existing WordPress data structures? A simple data model is a list of entities and their attributes; a complex one is a diagram. Either is more useful than no data model.
Identify the integration points. Which other systems will the plugin interact with? Through which APIs? With what authentication? At what rate limits? Integration points often introduce constraints that the buyer was not aware of.
Identify the non-functional requirements. Performance targets, accessibility level, internationalization, security posture, compliance considerations. These are often not stated explicitly; surface them through direct questions.
Outputs
A scope document covering the user stories, data model, integration points, and non-functional requirements. A draft architecture sketch indicating how the plugin will be structured. An initial estimate broken down by area. A list of open questions for the buyer to resolve before the build begins.
Decision points
Is the scope clear enough to commit to? If not, extend discovery. Is the budget realistic for the scope? If not, either reduce scope or increase budget; do not enter the build with a known gap. Is the buyer the right counterpart for the engagement? If not, identify the right counterpart and bring them in.
Stage 2: Architecture and planning
The second stage converts the scope into a technical plan that the team can execute. The output is the structure of the plugin and the order in which it will be built.
Activities
Decide the plugin’s file and class structure. A simple plugin may be a single file with a few functions; a complex one may use namespaces, autoloading, and dependency injection. The right structure matches the plugin’s scope; over-engineering creates unnecessary cost and under-engineering creates technical debt.
Decide the data storage approach. Options usually fall between WordPress’s built-in storage (options table, post meta, custom post types) and custom database tables. The trade-offs include query patterns, multisite considerations, backup and migration behavior, and uninstall complexity.
Plan the hook surface. Which WordPress hooks will the plugin register? Which hooks will the plugin expose for other plugins to extend? Decisions made here affect compatibility and extensibility long after the initial build.
Plan the REST or AJAX surface. If the plugin needs to handle dynamic requests, define the endpoints, their methods, their authentication requirements, and their response formats.
Plan the test strategy. What will be tested with unit tests? What with integration tests? What with manual testing? The strategy does not need to be elaborate, but it needs to exist before the build starts so that tests can be written alongside code.
Outputs
An architecture document describing structure, storage, hooks, and APIs. A test strategy document. A milestone plan breaking the build into deliverable chunks. A risk register with named risks and mitigations.
Decision points
Is the architecture appropriate for the scope, neither over-engineered nor under-engineered? Have we documented the architectural decisions clearly enough that a new team member could understand them? Are the milestones independently deliverable, so that progress can be confirmed at each one?
Stage 3: Environment setup
The third stage prepares the technical environment in which the build will happen. Sloppy environment setup creates problems that look like code problems for weeks afterward.
Activities
Set up the version control repository. The plugin’s source code lives in version control from day one; commits are made frequently with meaningful messages. The buyer’s access to the repository is configured at this stage.
Configure the local development environment. Each developer working on the plugin runs a local WordPress installation matching the support matrix (current and previous major WordPress, current and previous PHP). Tools like Local, DevKinsta, Lando, or Docker Compose are common; the specific choice matters less than consistency.
Set up the staging environment. A staging environment that mirrors production conditions is used routinely throughout the build, not only before release. Database content can be representative test data; configuration should match production where possible.
Configure continuous integration. Automated tests, linting, and static analysis run on every commit. The CI pipeline is set up before the first feature is built, not retrofitted later.
Set up issue tracking and project management. The team’s chosen tool (Jira, GitHub Issues, Linear, Asana, or others) is configured with the milestone plan, the user stories, and the issue templates.
Outputs
A working development environment for each developer. A working staging environment accessible to the team. A CI pipeline that runs on every commit. A configured issue tracker with the milestone plan loaded.

Stage 4: Core development
The fourth stage is the longest. The team builds the plugin’s functionality against the scope, sprint by sprint or milestone by milestone, with quality assurance running alongside the build.
Activities
Build the foundation: plugin header, activation and deactivation hooks, the autoloader or include structure, the textdomain registration, and the uninstall routine. The foundation is built first because everything else depends on it.
Build the settings UI early. A working settings page is one of the first things the buyer wants to see, and it surfaces decisions about user interaction that affect later work.
Build features in priority order. The highest-priority user stories are completed first, with “completed” meaning code merged, tested, and deployable. Resist the temptation to start many features in parallel; finished work is more useful than several half-built features.
Build internationalization scaffolding from the start. Every user-facing string is wrapped in the translation functions, the textdomain is registered, and the .pot file is generated periodically. Retrofitting internationalization at the end of the build doubles the work.
Write tests alongside code. Each completed user story has at least one test case before being merged. The test does not have to be elaborate; it has to be repeatable and meaningful.
Hold weekly status reviews with the buyer. Demonstrate completed work, raise blockers, surface decisions that need the buyer’s input.
Outputs
A working plugin that implements the agreed scope, sprint by sprint. A growing test suite covering the critical paths. A weekly status record visible to the buyer. A maintained issue tracker showing current state.
Decision points
Is the team on track against the milestone plan? If not, identify whether the slip is one-time or a pattern, and adjust either the plan or the rate of work. Are change requests being captured in writing and decided on, or are they slipping into the build informally? Are tests being written, or is the test suite falling behind code?
Stage 5: Quality assurance and security review
The fifth stage formalizes the quality assurance that has been running alongside the build. The full test suite is exercised against the support matrix, security review is conducted, and accessibility is verified.
Activities
Run the full test suite against each combination in the support matrix: current and previous major WordPress, current and previous PHP, the most common database versions. Address any failures.
Conduct security review. Capability checks on every state-changing action, nonce verification on every form, prepared statements on every database query, sanitization on every input, escaping on every output. The review is conducted by someone other than the original author when possible.
Conduct accessibility review of the plugin’s front-end output. Automated tools (axe-core, WAVE, Lighthouse) catch the obvious issues; a manual review covers the issues automated tools cannot catch.
Test against the most common conflicting plugins and themes. The plugin does not need to work with every other plugin in the ecosystem, but it should work with the most common ones, and any incompatibilities should be documented.
Test the uninstall routine. Install the plugin fresh, configure it as a user would, uninstall it, and verify that no residue remains.
Outputs
A test report showing the support matrix coverage. A security review report listing findings and remediations. An accessibility report identifying issues and fixes. A compatibility matrix documenting verified plugin and theme combinations.
Decision points
Are all critical and high-severity findings remediated? Have known issues been documented and accepted? Is the plugin ready to enter the release stage, or are remaining defects worth addressing first?
Stage 6: Documentation and release preparation
The sixth stage produces the artifacts that accompany the release. Documentation and release assets are sometimes built in parallel with QA, sometimes after; either pattern works as long as both are complete before release.
Activities
Write end-user documentation. Covering installation, configuration, common use cases, and troubleshooting. The documentation is tested by having someone who has not used the plugin follow it from scratch.
Write developer documentation if the plugin exposes hooks, filters, or a REST API. Each public extension point is documented with its parameters, expected behavior, and an example.
Prepare the WordPress.org listing if applicable. The readme.txt file, the screenshots, the banner image, and the icon. The listing copy is written to communicate value to potential users, not to satisfy an internal checklist.
Prepare the release notes. A clear statement of what is in the release, what is fixed, what is new, and what is changed. Release notes are written for the user, not for the team.
Prepare the support infrastructure. The support channel (email, forum, ticketing system) is staffed and ready. Common questions have prepared answers. The internal team has been briefed on what to expect.
Outputs
Complete user documentation, complete developer documentation if applicable, the WordPress.org listing assets if applicable, release notes, and a support readiness summary.
Stage 7: Release and pilot
The seventh stage is the public release, or sometimes a limited pilot before the full public release. The plugin enters the real world.
Activities
If the plugin is going to the WordPress.org directory, file the submission. Respond to reviewer feedback. Iterate until approval. The review process typically takes one to ten days; plan for one round of changes.
If the plugin is being released privately, configure the update server, prepare the licensing if applicable, and prepare the customer download experience. Test the entire flow with a real test account.
Consider a pilot release. The pilot can be a single client site, an internal team, or a small beta group. The pilot duration is one to four weeks; long enough to see real-world behavior, short enough to maintain momentum.
Communicate the release. Announce to the existing audience (mailing list, social channels, partners) if applicable. Update the website, the documentation, and any related properties.
Monitor closely. Watch error logs, support channels, and any analytics that indicate how the plugin is being used. Most surprises in the first week are minor; some are not.
Outputs
A published plugin available to users. A monitoring stream showing initial usage and any errors. A support channel that is responding to early questions.
Stage 8: Stabilization and handover
The eighth and final stage covers the first weeks after release. The team is no longer building; they are stabilizing the release and preparing for ongoing operations.
Activities
Address issues reported in the first weeks. Most issues are minor; address them in order of severity. Critical issues get hotfix releases on the day they are confirmed; lower-severity issues are batched into a minor release.
Refine the documentation based on what users actually ask about. Documentation written before release describes what the team thought users would need; the first weeks of support reveal what they actually need.
Conduct the release retrospective. What went well, what did not, what would the team do differently next time. The retrospective produces concrete changes for the next build, not a wish list.
Hand over to operations. If the team that built the plugin is different from the team that will operate it, transfer the runbook, the credentials, the documentation, and the open issue list. Hold a walkthrough meeting.
Define the maintenance cadence. Even if the same team is continuing to operate the plugin, the cadence shifts from build to maintenance, and the practices that apply to maintenance (monthly dependency updates, quarterly reviews, annual audits) begin.
Outputs
A stable plugin with the first weeks of issues addressed. Updated documentation reflecting actual user questions. A retrospective record with planned improvements. A handover artifact set if applicable. A maintenance plan with a defined cadence.
Process flow outline at a glance
The eight stages compress into a process flow that can be drawn on a single page or held in mind during execution.
- Discovery and scoping: from buyer request to written specification.
- Architecture and planning: from specification to technical plan.
- Environment setup: from plan to working development infrastructure.
- Core development: from infrastructure to working plugin against scope.
- Quality assurance and security review: from working plugin to release-ready plugin.
- Documentation and release preparation: from release-ready to release-complete artifacts.
- Release and pilot: from artifacts to live plugin in users’ hands.
- Stabilization and handover: from live plugin to operating plugin.
Each stage has a clear input (the output of the previous stage) and a clear output (the input to the next stage). Skipping a stage means the next stage starts with incomplete inputs. Compressing a stage means the next stage absorbs the incomplete work as rework or as accepted limitations.
Tailoring the playbook to project size
The playbook scales in both directions. For a small plugin built by one developer over a few weeks, the stages still exist but may compress significantly: discovery is a conversation and an email, architecture is a paragraph, environment setup is a morning’s work, and so on. For a complex enterprise plugin built by a team over many months, each stage expands accordingly: discovery is a multi-week engagement, architecture is a document with multiple reviewers, environment setup involves substantial DevOps work.
The discipline is matching the depth of each stage to the project’s needs. Over-investing in a small plugin’s discovery wastes the team’s time. Under-investing in an enterprise plugin’s discovery guarantees rework. The playbook does not prescribe depth; it prescribes sequence. Teams who follow the sequence and adjust the depth to the project deliver consistently. Teams who skip stages, regardless of depth, accumulate the cost of the skipped work later.
Next-step checklist for adopting the playbook
Adopting the playbook for the first time is itself a small project. The list below is a starting sequence for a team that wants to install the playbook in their own way of working.
- Pick one project starting in the next month and use the playbook for that project only. Do not retrofit projects in flight.
- Read through the eight stages with the team and discuss which stages the team already does well, which are absent, and which are inconsistent.
- Adapt the stage descriptions to your team’s vocabulary. The structure matters; the words can change to match how your team talks about work.
- Run the first stage (discovery and scoping) with the playbook in hand. Treat the playbook as a guide, not as a script.
- Hold a brief retrospective after each stage. What worked, what did not, what would the team adjust for the next stage of this project or the next stage in a future project?
- At project close, hold a longer retrospective specifically about the playbook. Capture the changes the team wants to make.
- Update the playbook based on the retrospective. The team’s version of the playbook should reflect what works for them, not what the original document said.
- Train new team members on the updated playbook as they join. A playbook that lives in one person’s head is not really a playbook.
- Run the next project on the updated playbook. Each iteration improves the team’s command of the process.
The playbook is a tool. Tools work when they are used consistently, adapted to context, and improved through reflection. The plugin that you build well on the third project with this playbook is the payoff for the discipline of using it on the first and second.



Discussion
Join the Conversation
No comments yetNo comments yet
Start the discussion with a useful question, implementation note, or feedback that can help the next reader.